
Blog
Smart 9:16 crops that do not decapitate your subject
Subject-aware reframe with face bias, caption safe zones, and the manual nudge moment that automation cannot replace. A practical guide for shorts and Reels.
· 9:16, reframe, shorts, workflow
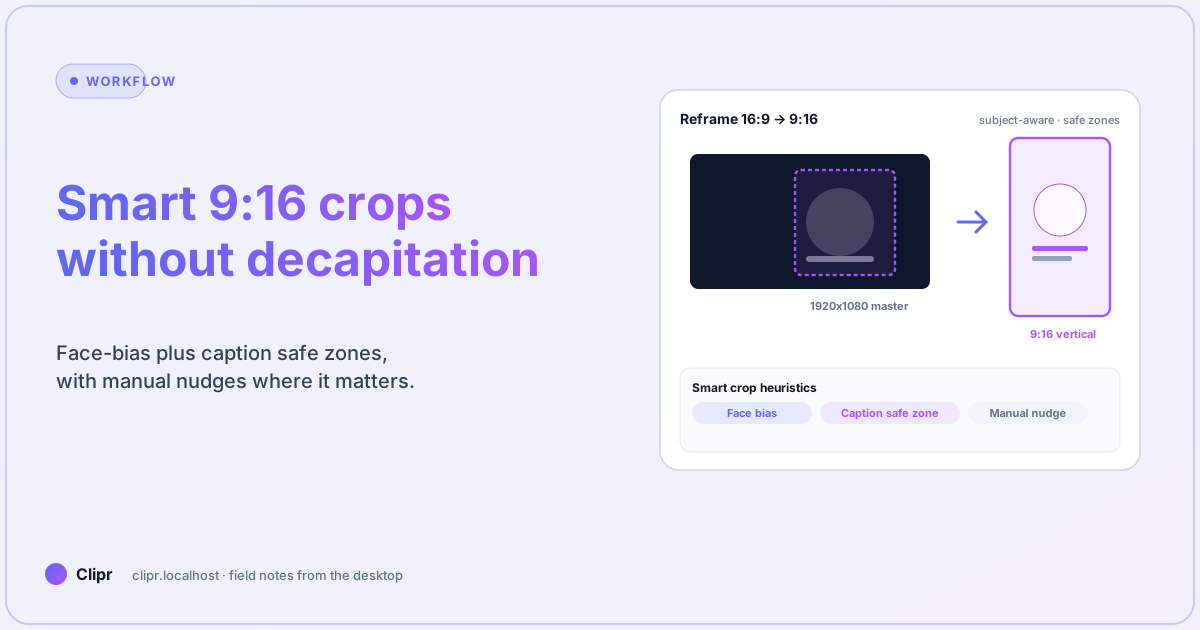
Article hero (SVG, 1200×630)
Auto-crop is great until your CEO loses her chin in the first frame. Then the screenshot ends up in #marketing-fails and you spend the afternoon re-framing forty clips by hand. It is the exact wrong economy of effort: the machine should do the boring 38 and you should fix the dramatic 2.
The trick is not “smarter AI.” The trick is making the machine honest about what it can and cannot do, then giving the human a fast nudge.
Here is what trips most people up
People expect the auto-crop to handle interview shots where two faces sit on opposite sides of the frame. Most “decapitation” failures happen in two-face shots and on jump cuts, not in the easy single-talker case. If your input has interview cadence, do not trust auto crops without a preview pass — and if your input has jump cuts, set a per-cut nudge keyboard shortcut before you batch.
What “subject-aware” actually means in 2026
Real subject-aware crop is doing four things:
- Detecting faces / bodies per frame at low cost.
- Smoothing the crop center so it does not jitter on micro-movement.
- Hard-clamping the crop so it never crosses an editor-defined safe margin.
- Falling back to a known-good rule (rule of thirds + face bias) when detection drops below a confidence threshold.
If a tool is doing fewer than those four, you are getting the marketing demo, not the pipeline. The Clipr reframer documents which heuristic chose each frame so you can later argue with it intelligently — see the features page for the per-audience description.
A workflow that holds up
The five-minute version of “do not decapitate”:
- Drop the 1920×1080 master into the reframe panel.
- Pick the 9:16 with face bias preset. Watch the preview at 1× speed first; do not scrub.
- Mark any cuts where the smoothing visibly fights the action (chase scenes, B-roll cuts, screen captures with fast motion).
- For each marked cut, switch to manual offset mode and nudge ±20 px. Use keyboard
[and]for left/right,;and'for up/down. - Re-render only the marked cuts. The unmarked 80% reuses the prior render — no need to transcode the whole thing again.
The pipeline overhead is tiny once you build the muscle for step 4. Most operators get it down to about 90 seconds per minute of finished vertical.
Caption safe zones
The 9:16 frame is not 9:16 once TikTok or Reels overlay their UI. The bottom ~12% gets the username + caption, the top ~7% gets the platform header. If you bake captions, set the safe zone before the burn-in, not after. The Clipr presets ship with platform-aware safe zones, but you can override per-export.
A pragmatic baseline:
- TikTok: top 7%, bottom 14%, right 10% (heart/share rail).
- Instagram Reels: top 8%, bottom 16%, right 10%.
- YouTube Shorts: top 5%, bottom 15%, right 8%.
Test on an actual phone with True Tone off. Laptop previews lie about saturation.
The manual nudge moment is a feature, not a regression
Every team eventually meets a clip where the machine’s choice is technically correct and the director’s choice is something else. A face-biased crop will keep the speaker centered through a panning shot of the audience; the director wanted you to follow the pan. Neither is wrong. Build a workflow that makes the manual override fast (keyboard shortcuts, scoped re-render) and you stop arguing with the tool.
What if it does not work?
- Subject lost on shaky handheld: lower the smoothing strength so the crop tracks faster, accept micro-jitter in exchange for keeping the face in frame.
- Two-shot cuts off both heads: switch to manual
1.0zoom + center-of-mass crop, then nudge horizontally per cut. - Captions sit under the platform UI: widen the safe margin; bitrate will not save you from a covered word.
- Auto-crop chooses the wrong face in a panel: the heuristic is biased toward the largest detected face. Override per cut, or pre-mark the panelist with a face-lock tag if you do this every week.
- Audio pumps after the vertical export: the resampler is not the crop’s fault. Run a dedicated loudness pass at the master stage, not the export stage.
When to skip auto-crop entirely
There are three cases where auto-crop is the wrong tool:
- Slide shows / screen recordings: you almost always want a center-anchor 1.0 zoom and a manual focus rectangle. Faces are not the subject.
- Highly stylized music videos: directors made deliberate composition choices in 16:9. A crop of any kind is editorial loss; consider letterboxing instead.
- Sports with fast lateral motion: detection lag will trail the action. Manual keyframed pan is faster than fighting the smoother.
If your weekly job is one of these, set a manual-first preset and skip the auto pass.
Closing
The point of smart crop is not to remove the human from the frame; it is to remove the human from the boring 80% so they can do real work on the dramatic 20%. Pick a preset that admits its biases, build a 90-second nudge habit, and bake captions only after copy-lock.
For the export specifics (codec, bitrate, container) head to features. For tier limits on batch reframing, pricing is the source of truth. The reframe panel itself ships in the download — try it on a real interview before the next sprint.